|


|
|
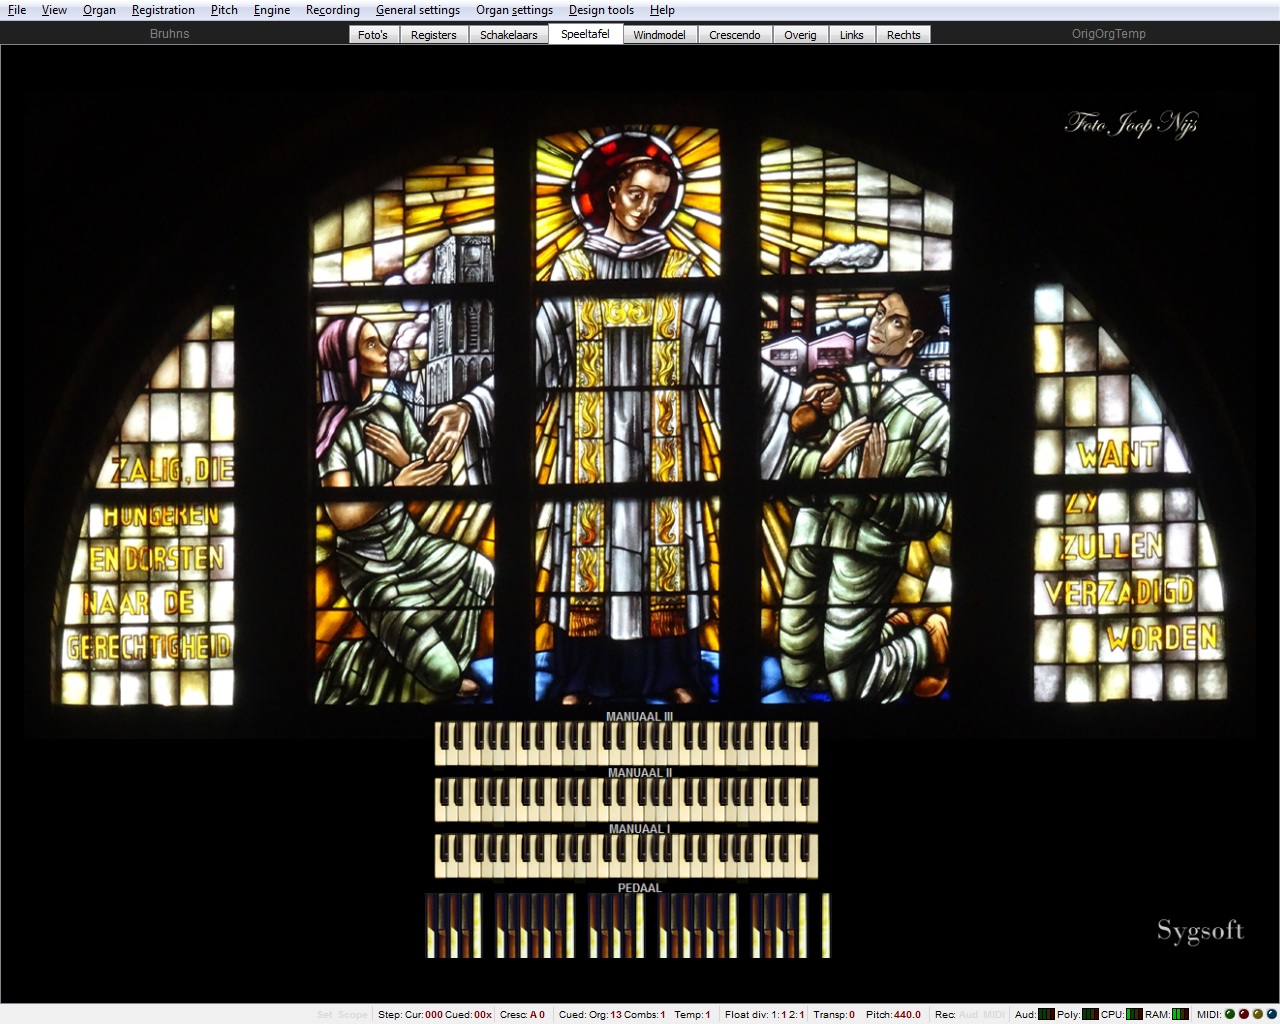
On this tab the front of the organ, if you click on the picture, you can see the church.
|
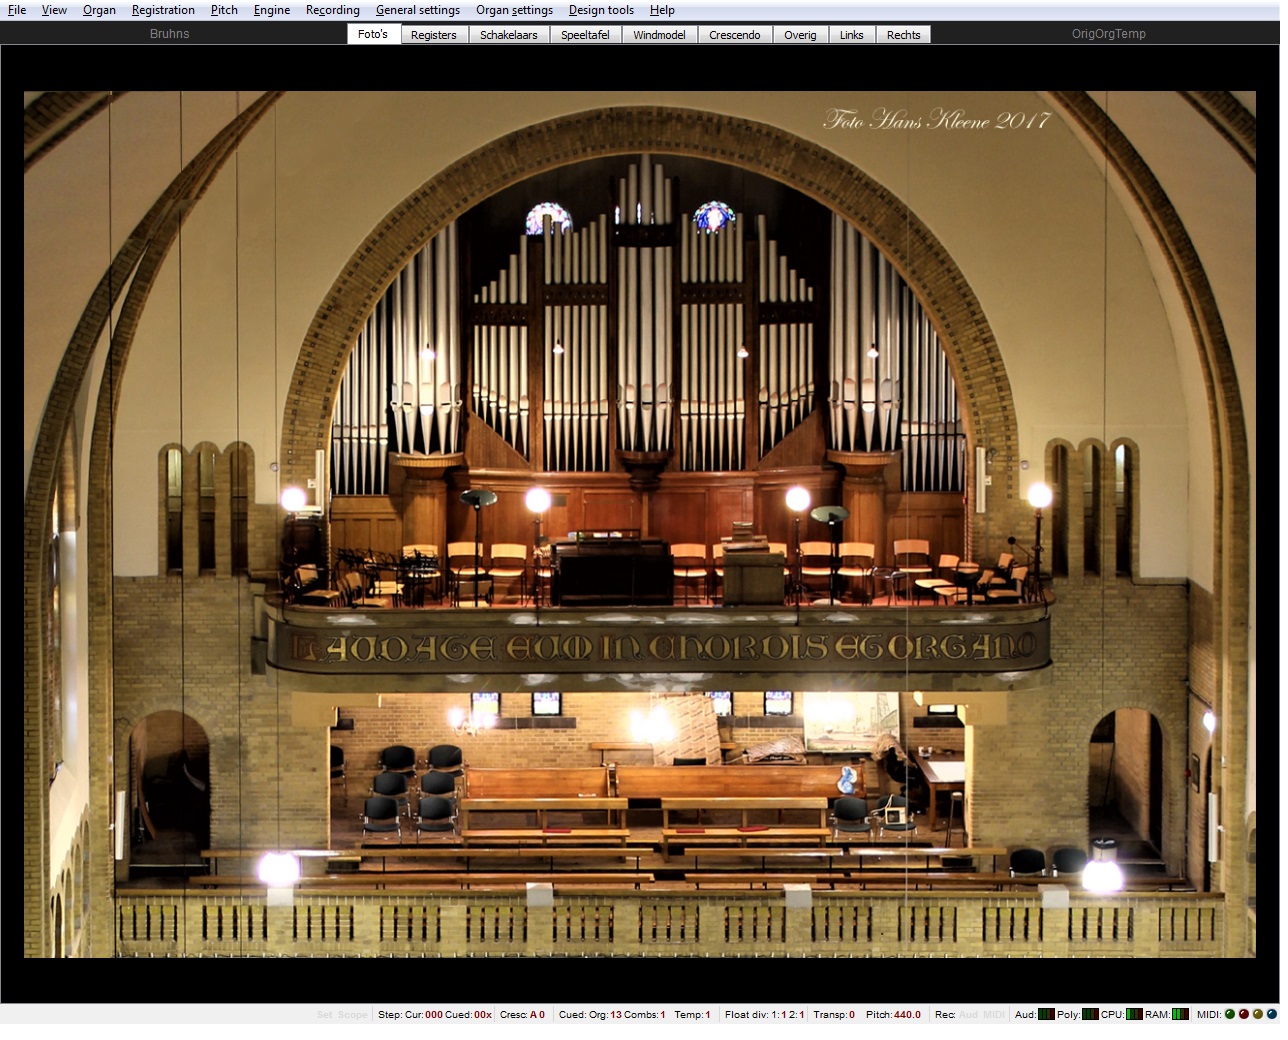
Organfront
Picture Hans Kleene
|
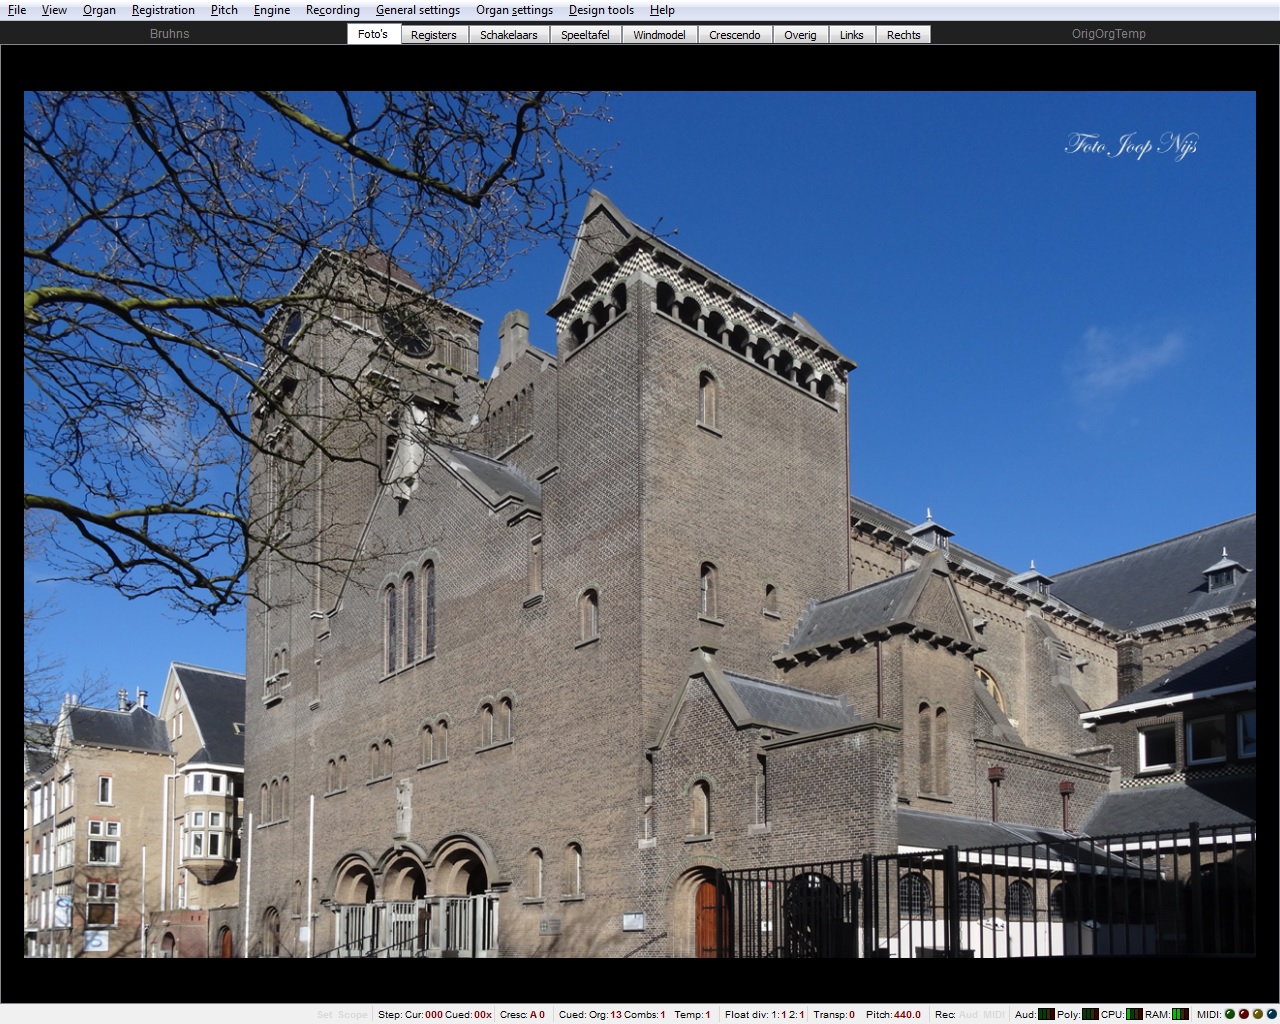
Church
Picture Joop Nijs
|
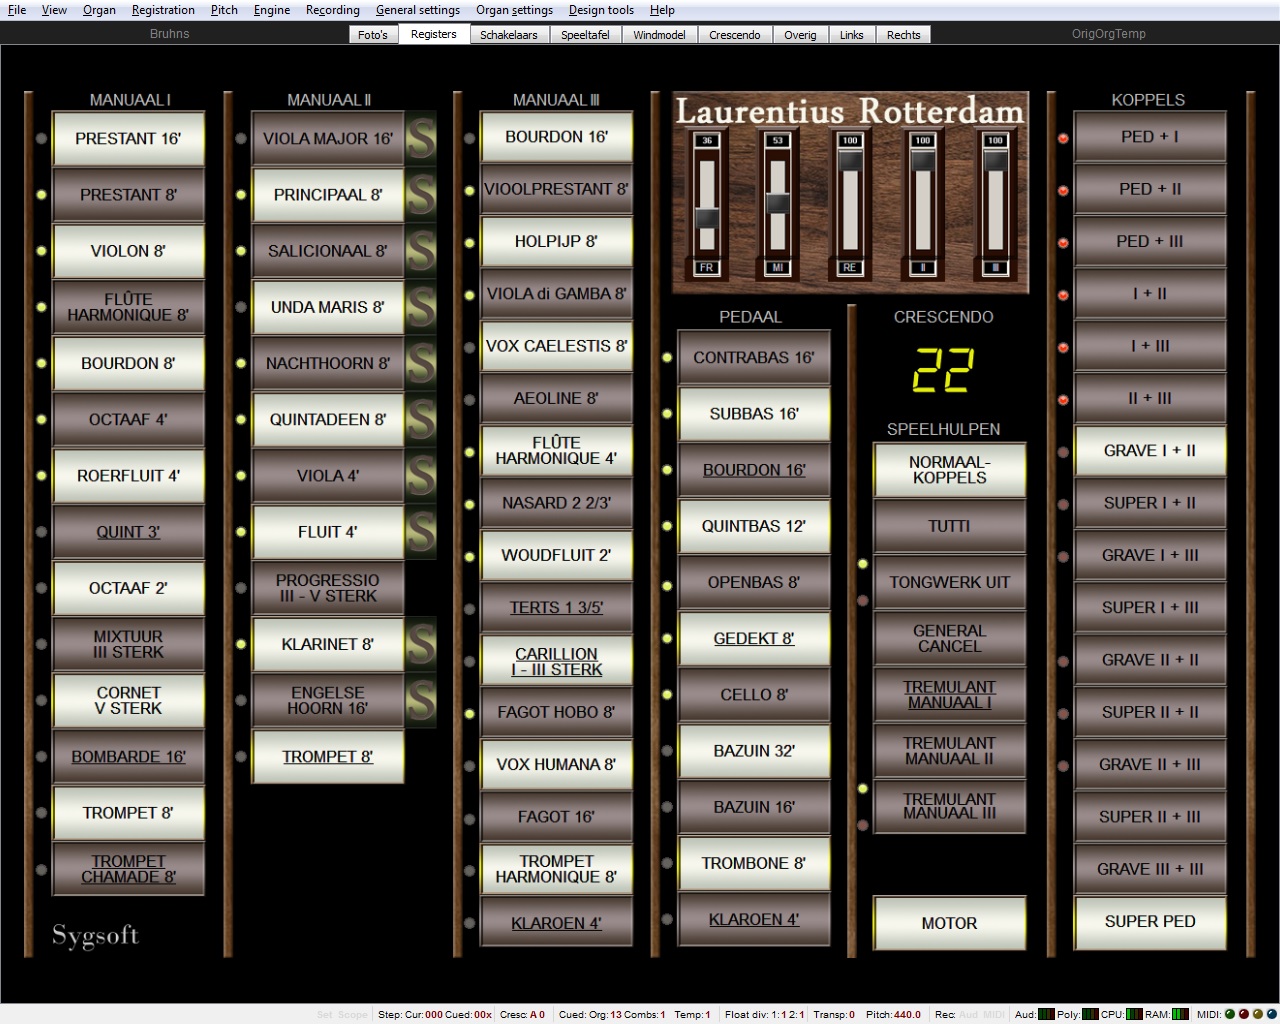
Simple panel
|
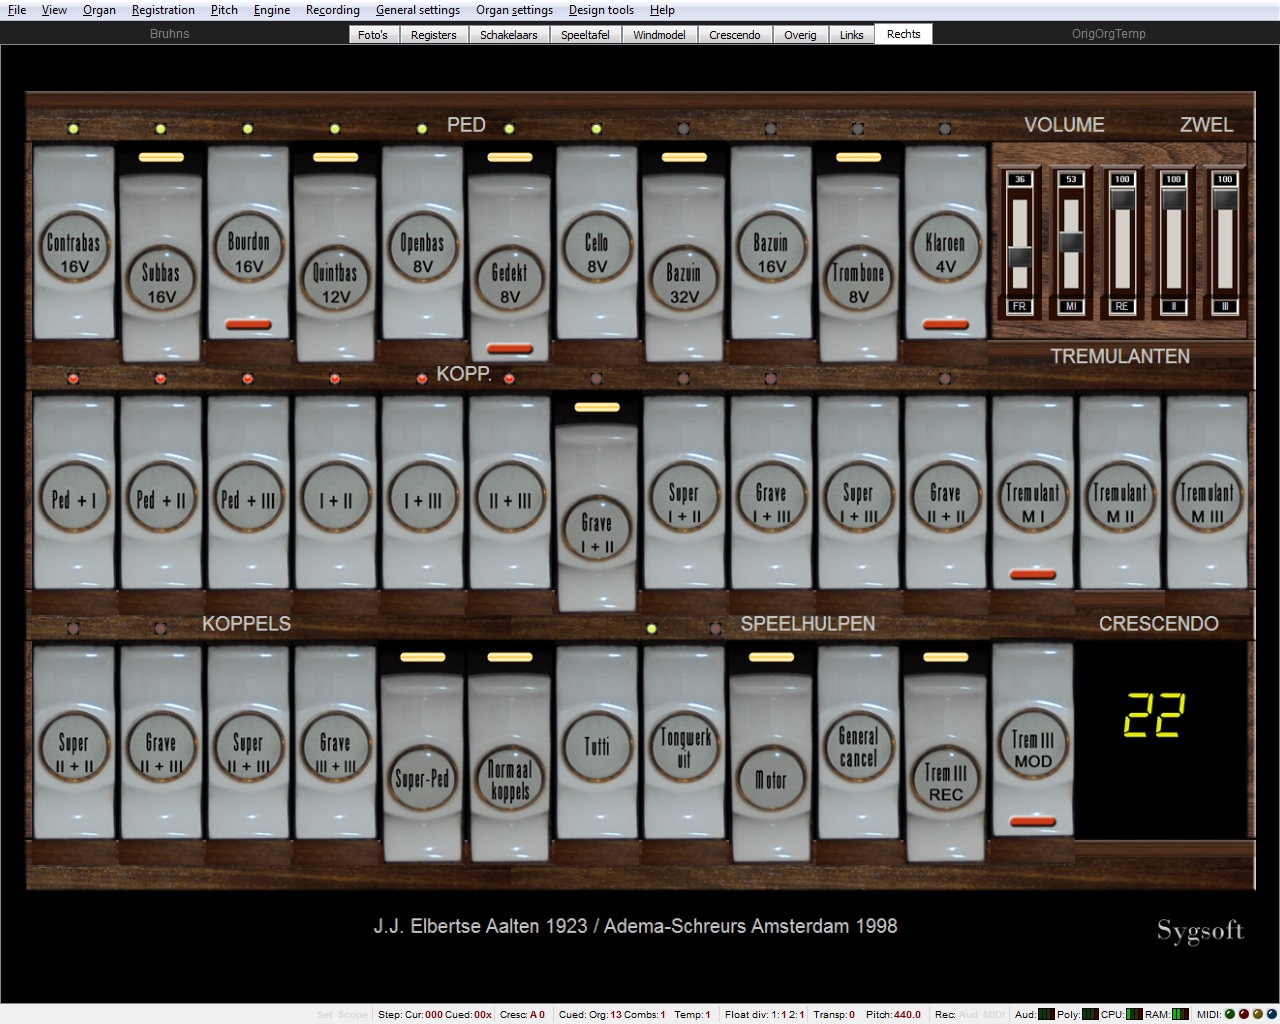
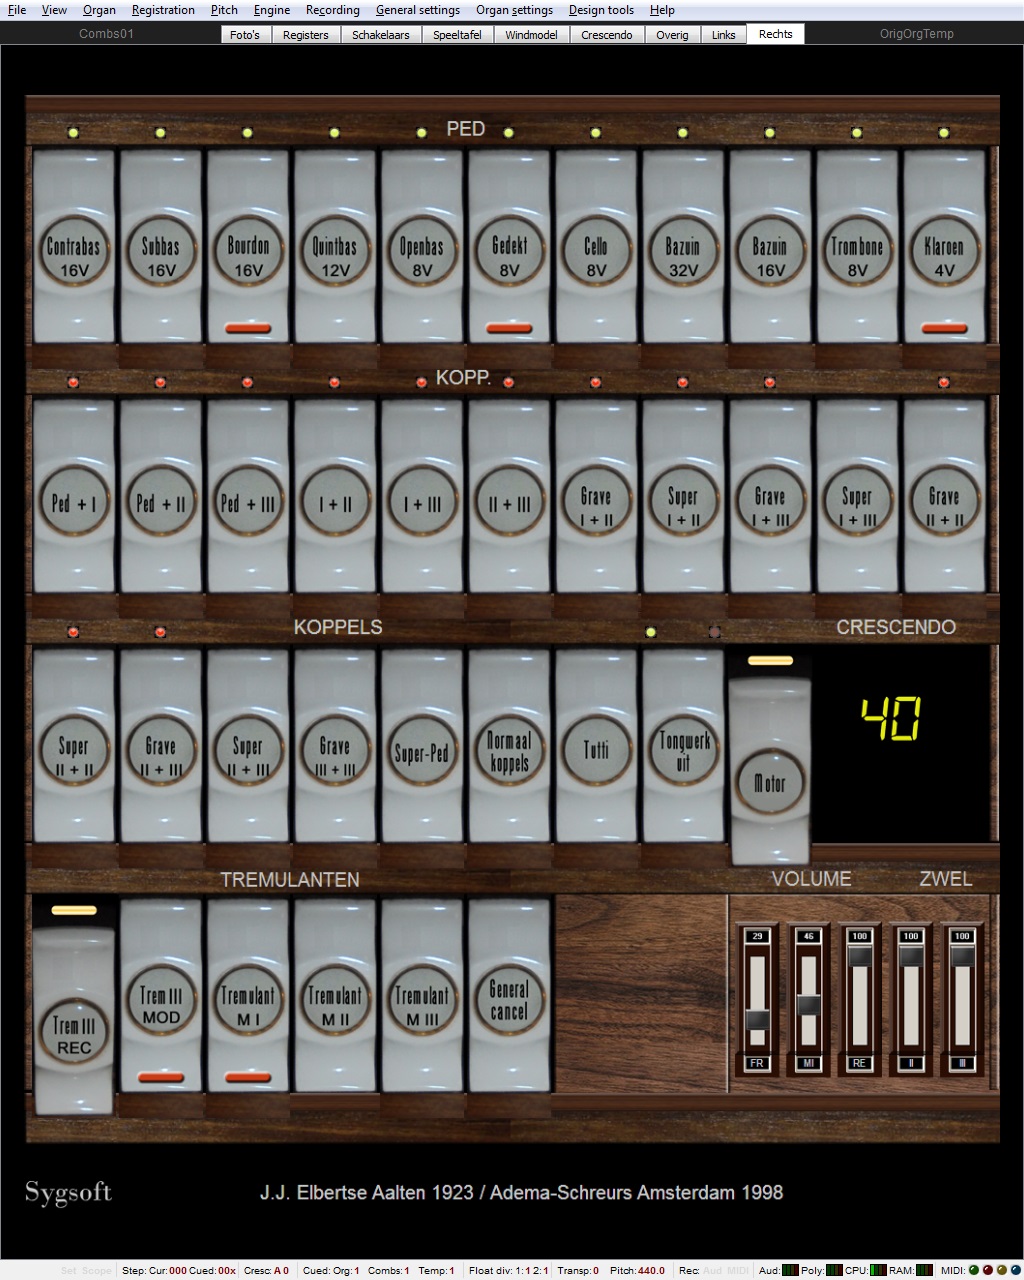
On this tab, we see a simpler representation of the stops more suitable for users of touch screens.
All stops and playing aids specifically made for Hauptwerk are underlined here.
The stops of manual II have pipes up to g''''. Using the 'S' buttons the stop sounds one octave up.
The button "MOTOR" switched the wind engine.
The button "TREMULANT MANUAAL I": Manual I has no tremulant on the real organ but for the enthusiast we have added one.
The sliders "Voor" (Front), "Midden" (Middle) and "Achter" (Rear) allows you to set the ratio of the various channels thereby determining
your listening position.
If you prefer a direct sound, select a high value for "Voor" and low values for "Midden" and "Achter".
If you prefer an indirect sound, then you should adjust "Midden" and "Achter" to higher values.
The 4th slider (with the caption "II" is the swell pedal from manual II, 5th slider is the swell pedal from manual III. All these sliders can be used if desired
to be connected to a swell pedal.
Moving the mouse verticaly over the digital crescendo pointer changes the position of the Crescendo.
This pointer can also connected to a swell pedal. .
|
Most elements of this page need not actually be visible but are still of interest if only to give a bit of an idea of what needs
to be done to get a sample set of this magnitude working. Just remember that behind every (manual) stop control there are 56 long,
56 long release, 56 medium release, and 56 short-release samples. In addition there are also 56 tremulant and 56 tremulant
release samples for the Hoofdwerk. The same applies to the pedal with 30 samples (here without tremulant). In total approximately
38.000 samples.
Furthermore, it is useful to know that if you right-click on a switch, you will be immediately directed to the appropriate voicing screen.
In the middle above you will find 4 buttons "Cresc man I", "Cresc man II", "Cresc man III", "Cresc man Ped". With these buttons you can determine whether the General Crescendo works
on these manuals or not.
|
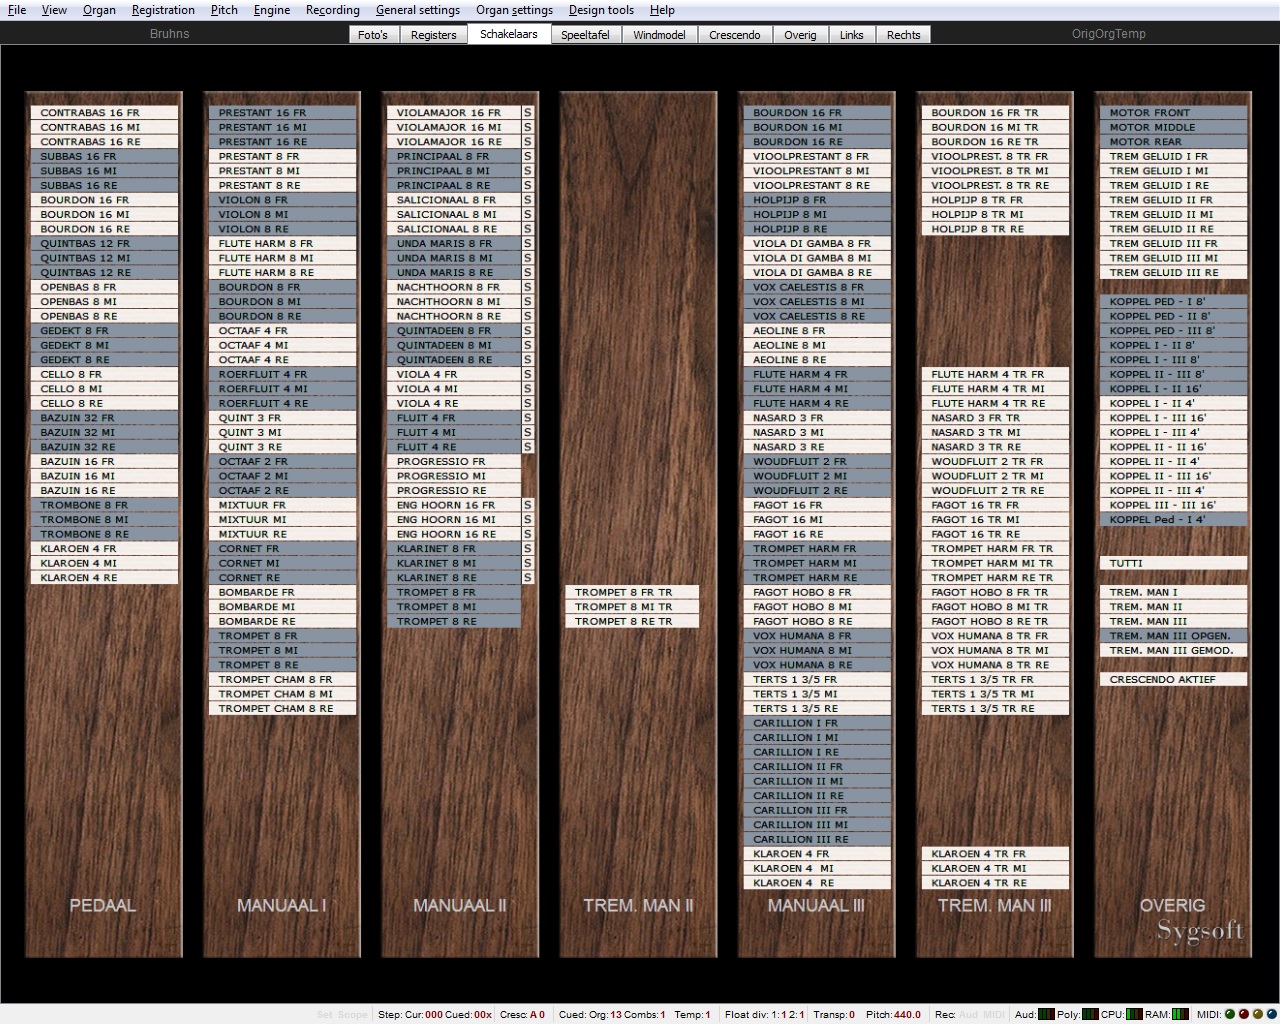
Switches
|
The virtual Console
|
This screen is only used to connect the various manuals with your console. Right-click on the manual to be connected.
|

The windmodel
|
This tab shows a schematic representation of the wind supply for this organ.
With the various sliders you can control the flow of wind for the bellows and the various chests.
The "R" or reset buttons, allow you to return to the settings that, in our view, yield the best results.
With the button "Sygsoft," below on the right, you can reset all six sliders at once.
Important:
Should you decide not to load a portion of this sample set (e.g. your computer RAM is too small and you choose to omit all "Rear" samples)
then the wind consumption is reduced by 33% and the organ becomes much less sensitive to the wind than it actually is.
In this case, go to Organ settings / Organ preferences / Wind supply model and choose a value of around 150%. Should you load only
one position, e.g. "Middle," (thereby reducing the wind consumption by 66%) then you must set this value to about 300% to obtain
the same result.
Obviously you can select any value you wish if the organ's behaviour is not to your liking.
If the Wind Supply Model-tab is left unchecked, you can completely disable its function.
|
|
6. General crescendo screen:
|
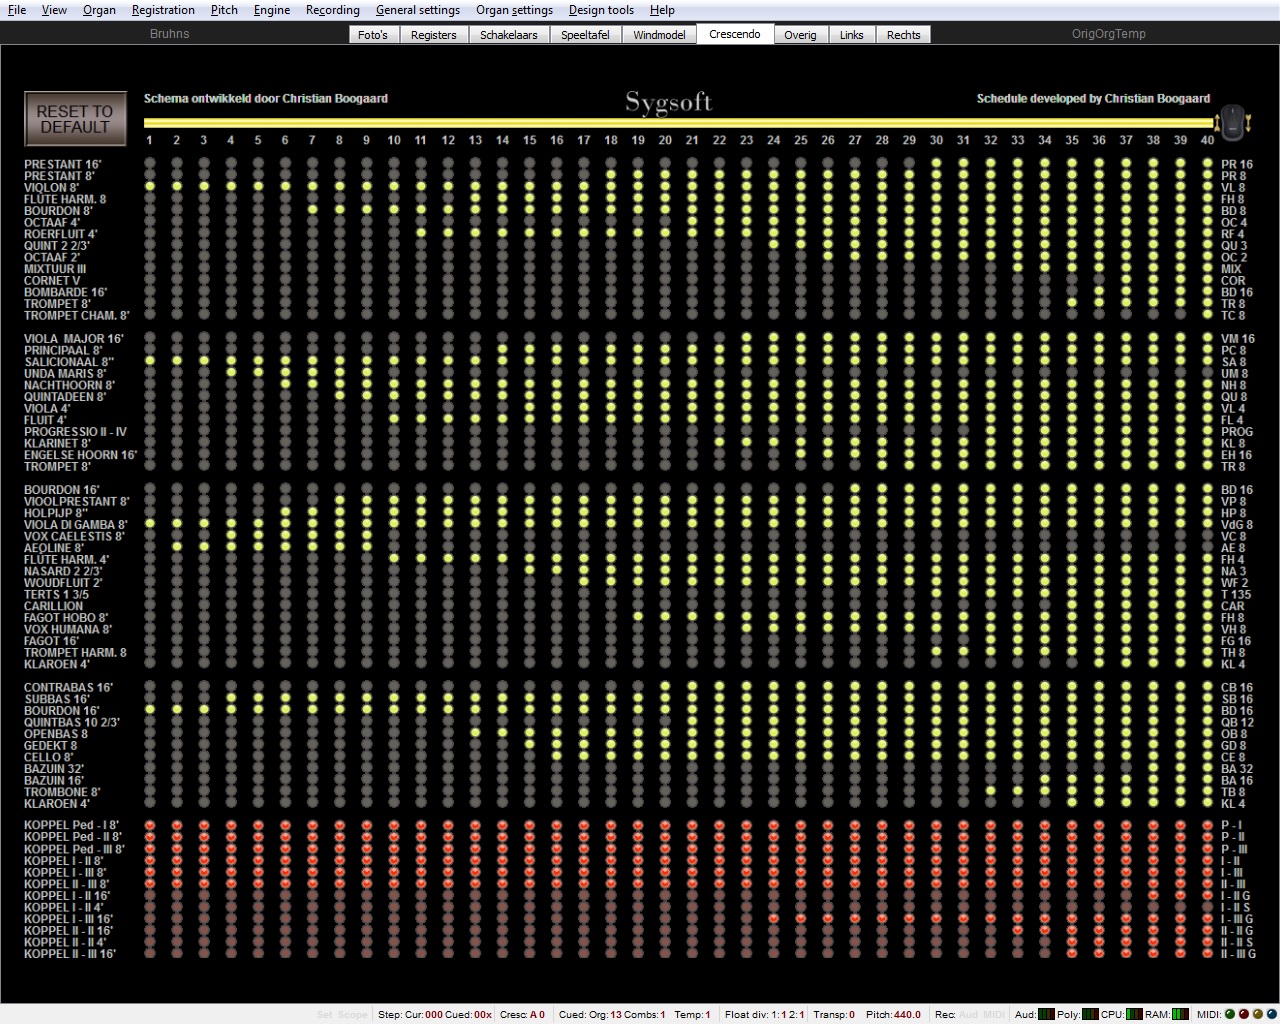
The Crescendo screen
|
On this tab a schematic representation of the crescendo pedal.
Here you can create your own taste and make one or more schemes and save them via Registration / Save combination set as ... or Re-save current combination set.
With the button "Reset to default" you switch on the schedule scheme that Christian Boogaard has developed.
You can also start from this Default scheme and this change and save.
By clicking the mouse button on the right and moving the cursor vertically you can move the Crescendo cursor.
Each register button that works on the general crescendo has an LED next to or above the button on the 3 registration screens. So you have control at any time during
playing which stops are enabled/disabled via the general crescendo.
|

The "Overig" screen
|
On this tab you can indicate which registers should be switched on with the "Tutti" button. You can change and save this schedule.
With the "R" button you return to the default setting.
Under "Crescendo werkt op:" you will find 4 buttons "Cresc man I", "Cresc man II", "Cresc man III", "Cresc man Ped". With these buttons you can determine whether General Crescendo works on these manuals or not.
Under "Tongwerk uit" type, you will find two buttons "NEDERLANDS" and "CAVAILLÉ-COLL". If you choose for Nederlands (Dutch), then on the tabs "Registers" and "Right" the yellow LED burns
next to the button "Tongwerk uit" and if you choose Cavaillé-Coll then burns the red LED. The reeds are switched off according to the following scheme:
|
|
Rank
|
Nederlands (Dutch)
|
CavaillÉ-Coll
|
Manuaal I
08-Quint 3'
09-Octaaf 2'
10-Mixtuur
11-Cornet
12-Bombarde 16'
13-Trompet 8'
14-Trompet Chamade 8'
|

|
|
Manuaal II
23-Progressio
24-Klarinet 8'
25-Engelse Hoorn 16'
26-Trompet 8'
|
|
|
Manuaal III
34-Nasard 3'
35-Woudfluit 2'
36-Terts
37-Carillion
38-Fagot Hobo 8'
39-Vox Humana 8'
40-Fagot 16'
41-Trompet Harmonique 8'
42-Klaroen 4'
|
|
|
Pedaal
49-Bazuin 32'
50-Bazuin 16'
51-Trombone 8'
52-Klaroen 4'
|
|
|
|
8. Links/Rechts: (Left/Right)
|

The left tab (landscape)
|
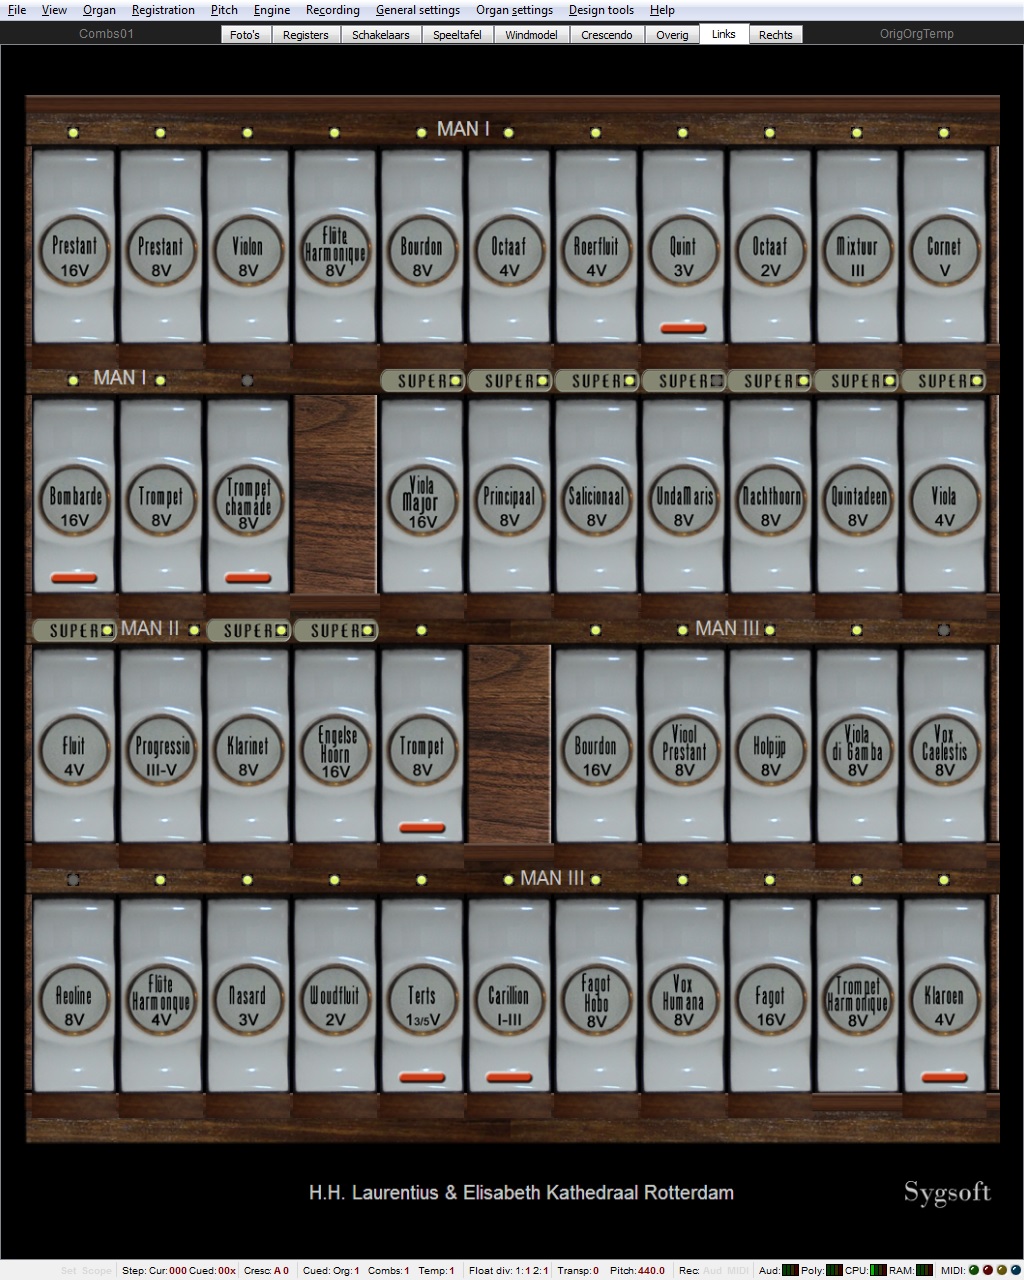
The left tab (portrait)
|
These tabs can be used if you use two touchscreens.
The buttons marked with a red stripe are not original.
|
The left tab (landscape)
|
The left tab (portrait)
|
|
|
Hauptwerk.nl is an initiative from Sygsoft Holland. KvK 93602855. Last updated
2024-06-01
|
|
|
